
These are the two cards I have made today using the Stamparatus. Perfect placement, repeat pattern and wreath pattern are all made possible using this tool, it’s really not difficult and requires patience rather than skill.
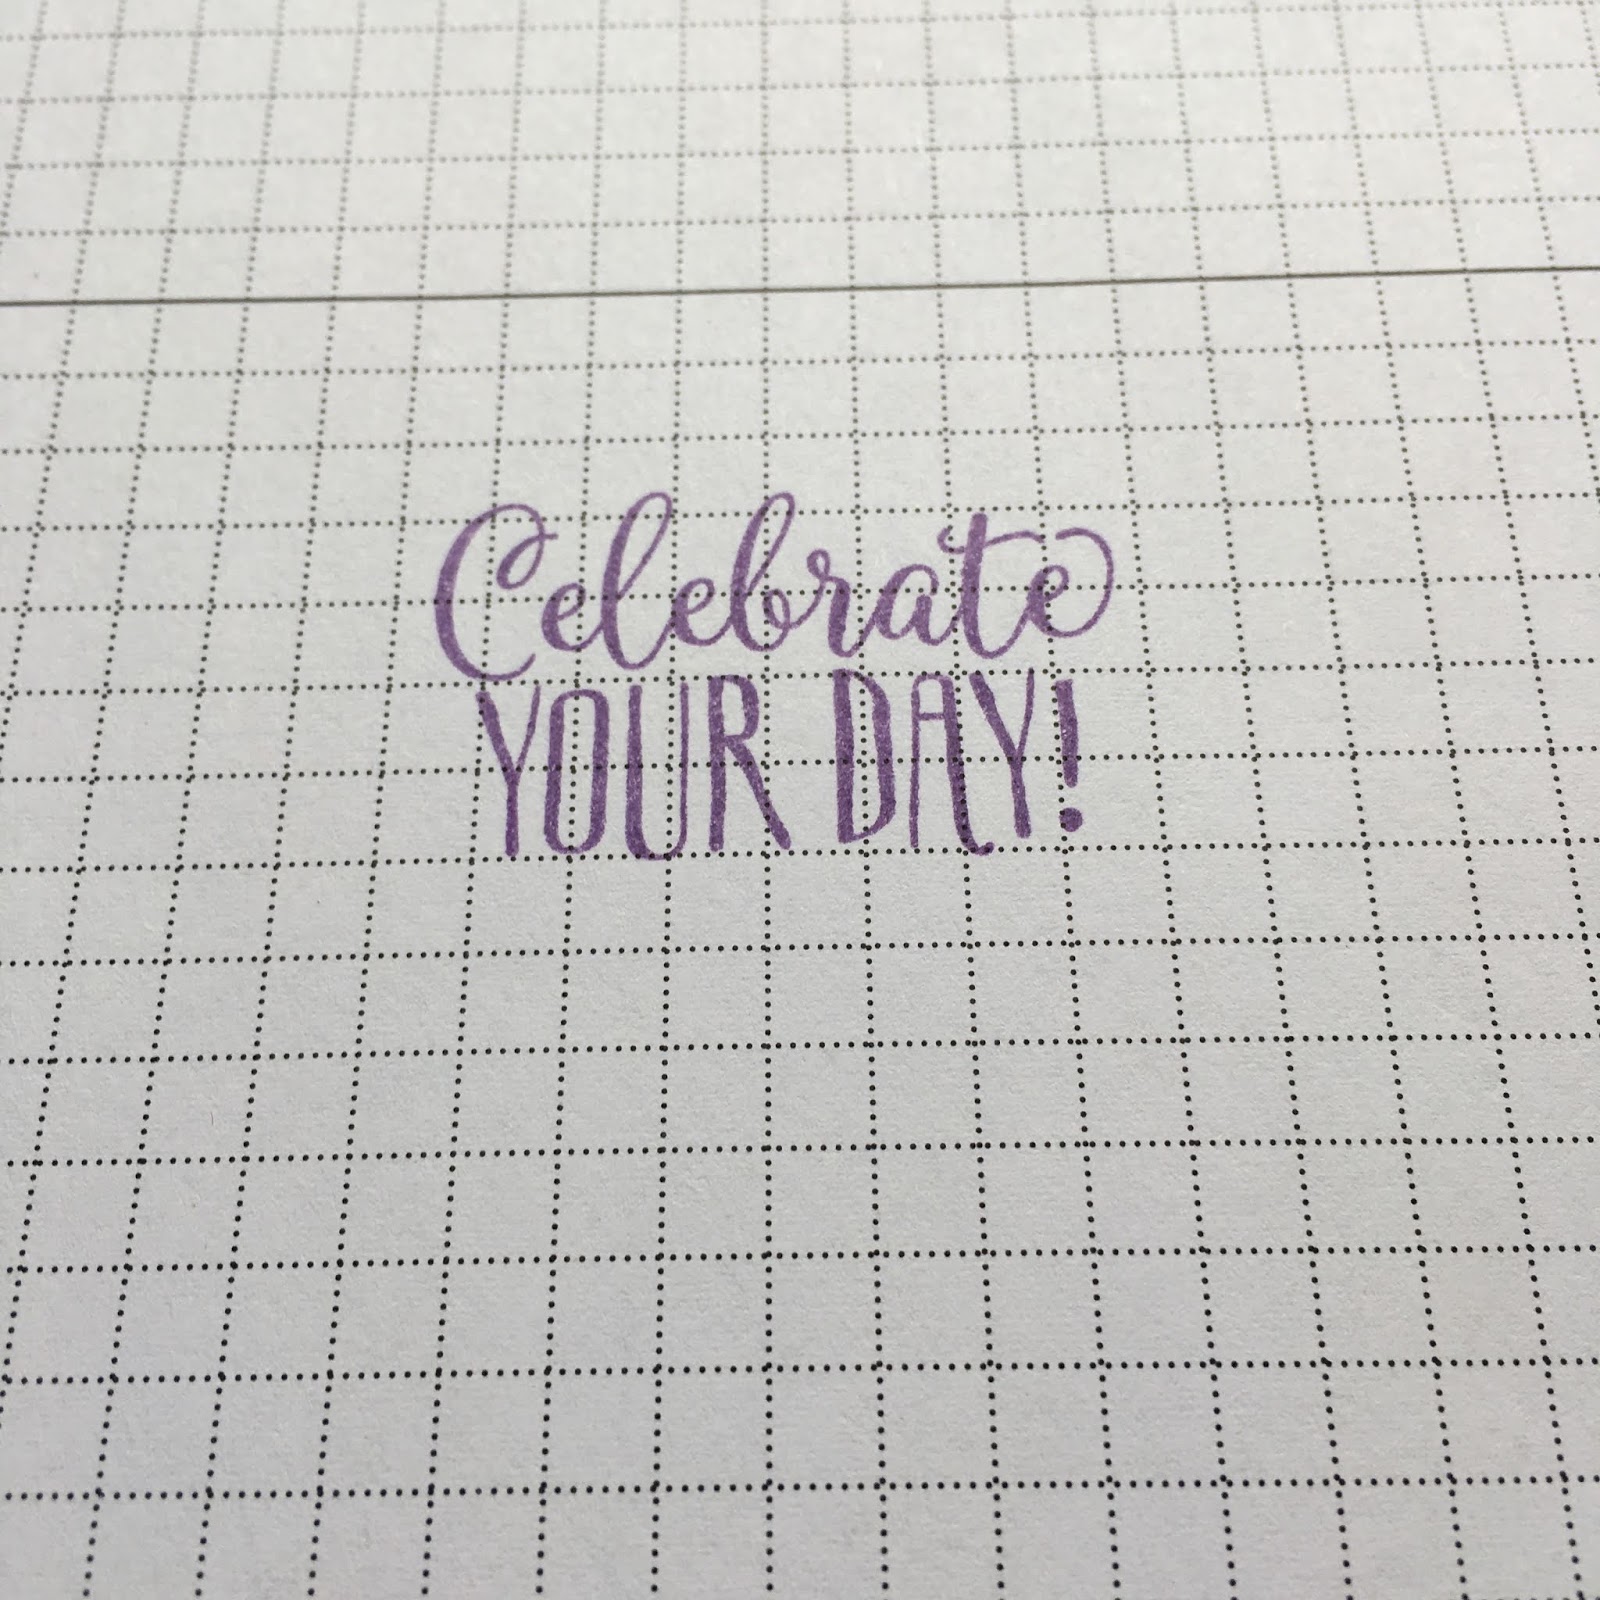
Celebrate your day
I have made this card using the wreath stamping technique, you need to make sure your card square is tucked right into the corner to ensure it is repositioned correctly after each turn. I find placing the stamp away from the hinges gives the best results. Turn the layer by 90° after stamping your flower and then reposition the stamp after the fourth turn.


On this card I changed colour each time I repositioned the stamp. I have stamped the larger flower in 4 different colours and filled the gaps using the little flower in 3 colours.


Once the wreath pattern was created I stamped each of the cupcake elements. By placing the stamp on the card (uninked) and lowering the hinged plate to pick it up ensures it is in exactly the right position.


I wanted to stamp the sentiment onto an oval shape and used the Stamparatus for 'perfect placement'.
The first step is to stamp onto the grid paper.
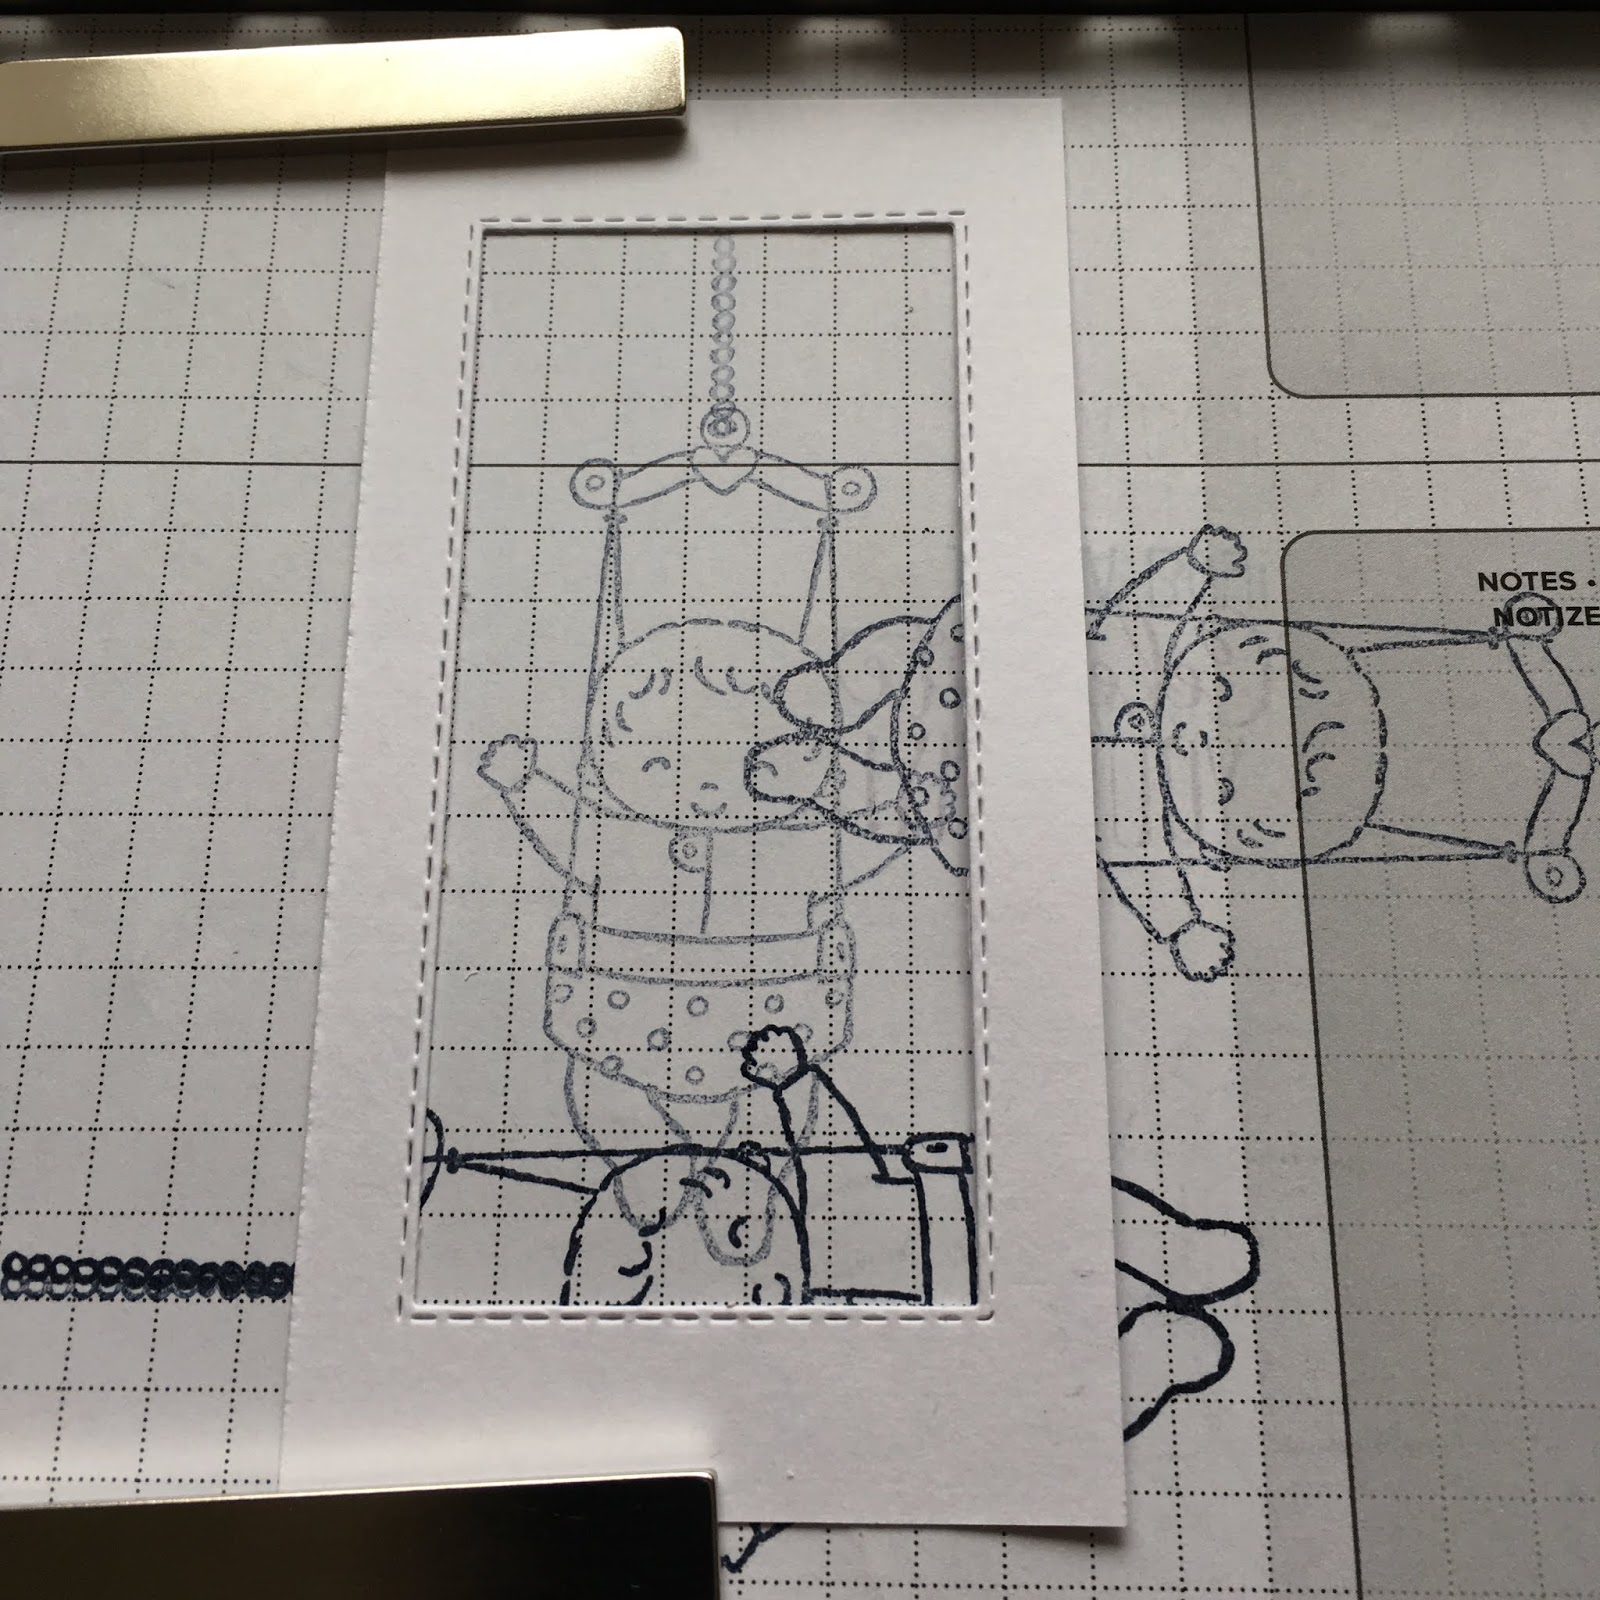
Then cut out your oval and place the piece it was cut from over the sentiment.


I have used two of the colours in the flowers as layers and adhered the sentiment oval using mini dimensionals.

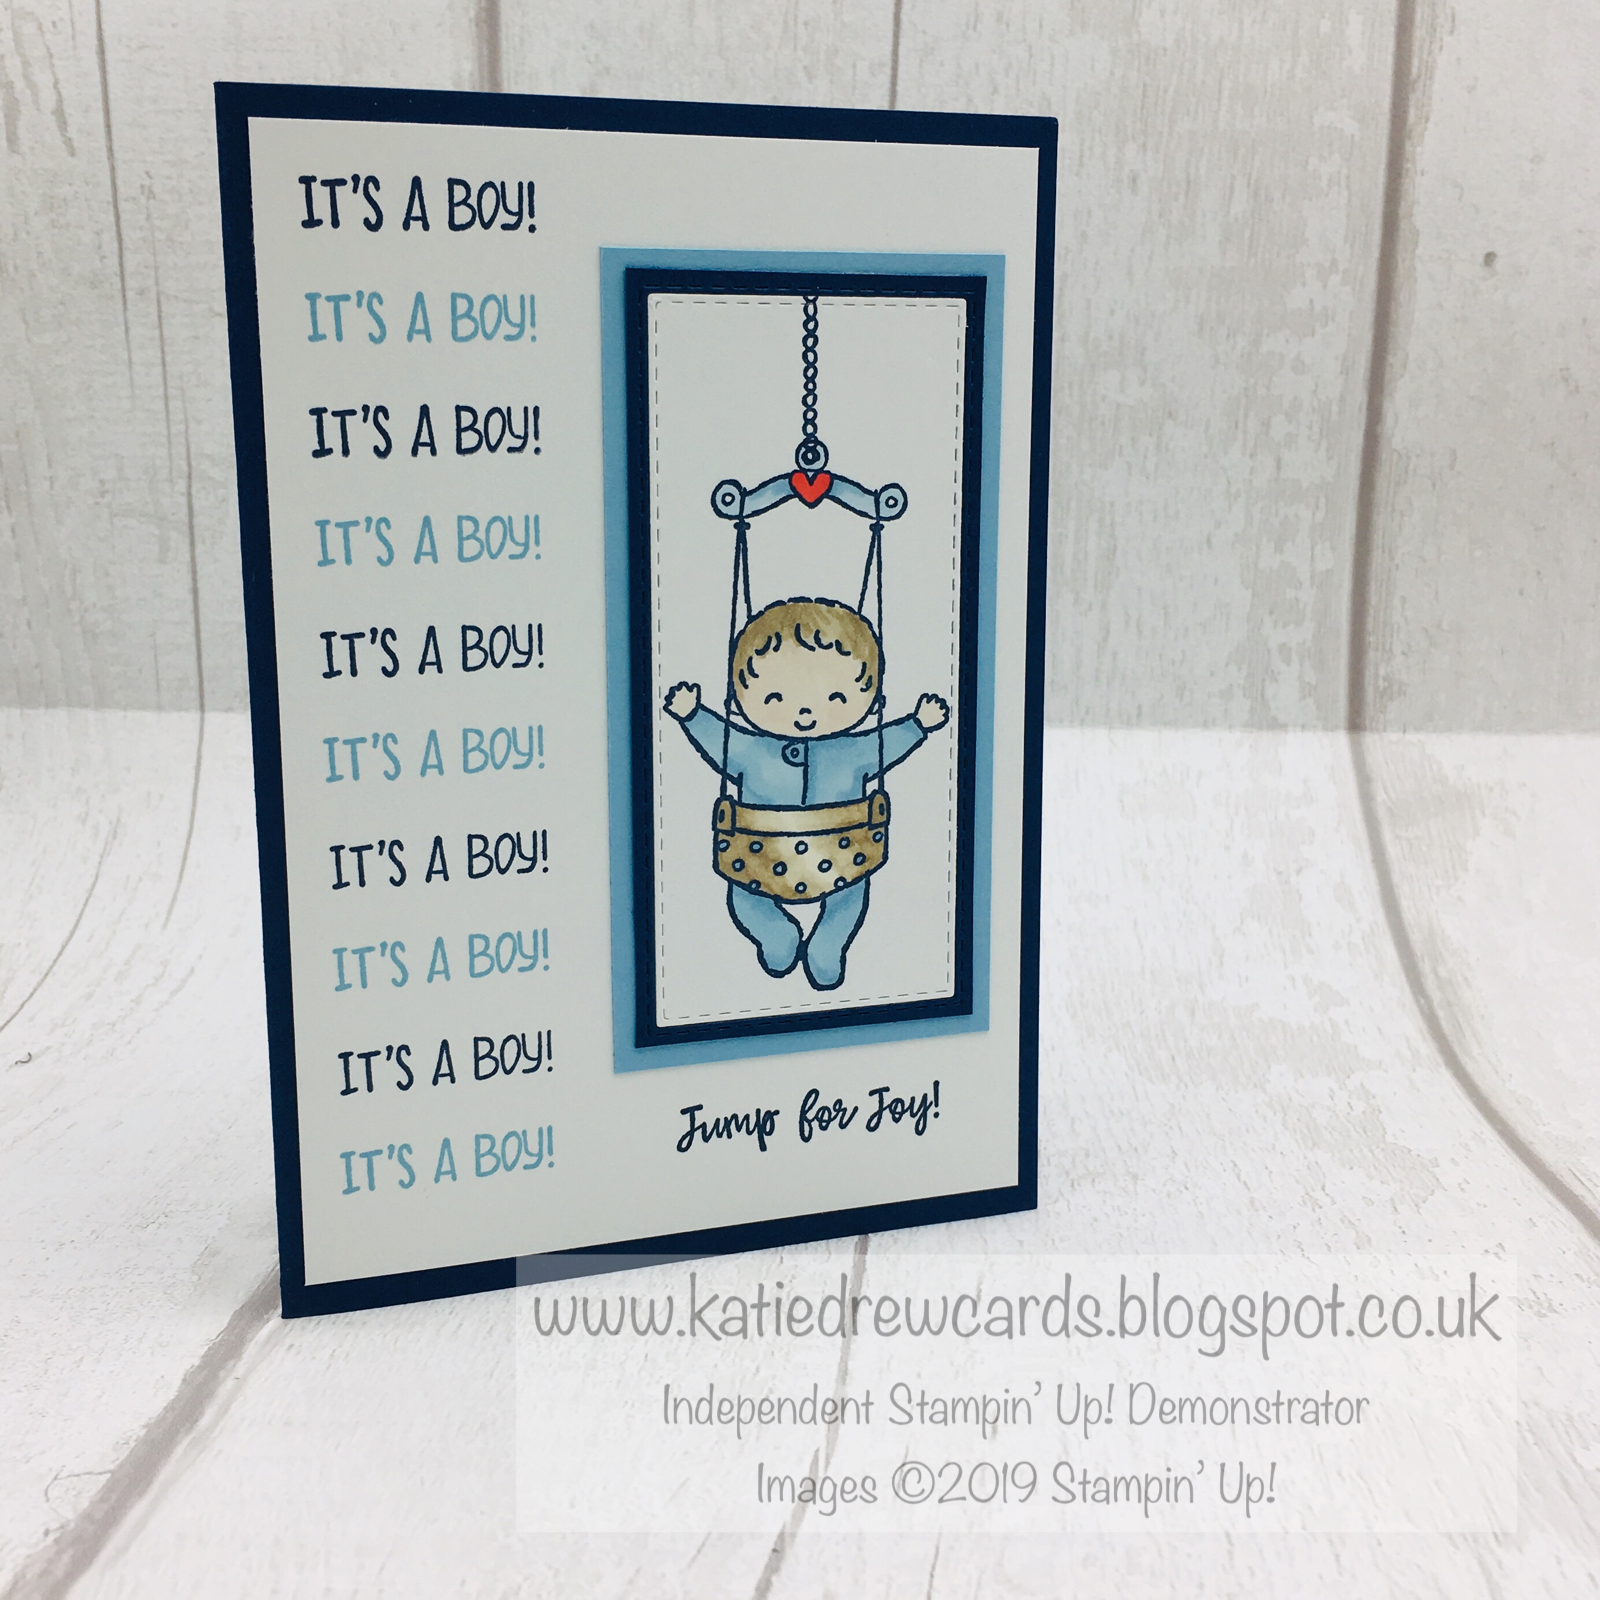
It's a boy
This next card uses the repeat stamping technique. The Stamparatus plates can be moved down (and across) on the hinged sides allowing for printing in a repeat pattern without moving the stamp. This stamp set is clear mount (red rubber) so to make sure it stamps straight use the grid lines on the Stamparatus plates to line it up and stamp first on the grid paper to make sure you are happy with the placement. As this is quite a small sentiment I did the night of navy repeats first and then repositioned the stamp in between to stamp the balmy blue repeats.


When I stamped the jump for joy sentiment I hadn't applied quite enough ink to the stamp, another benefit of using the Stamparatus is you can re-ink and stamp again in EXACTLY the same place!


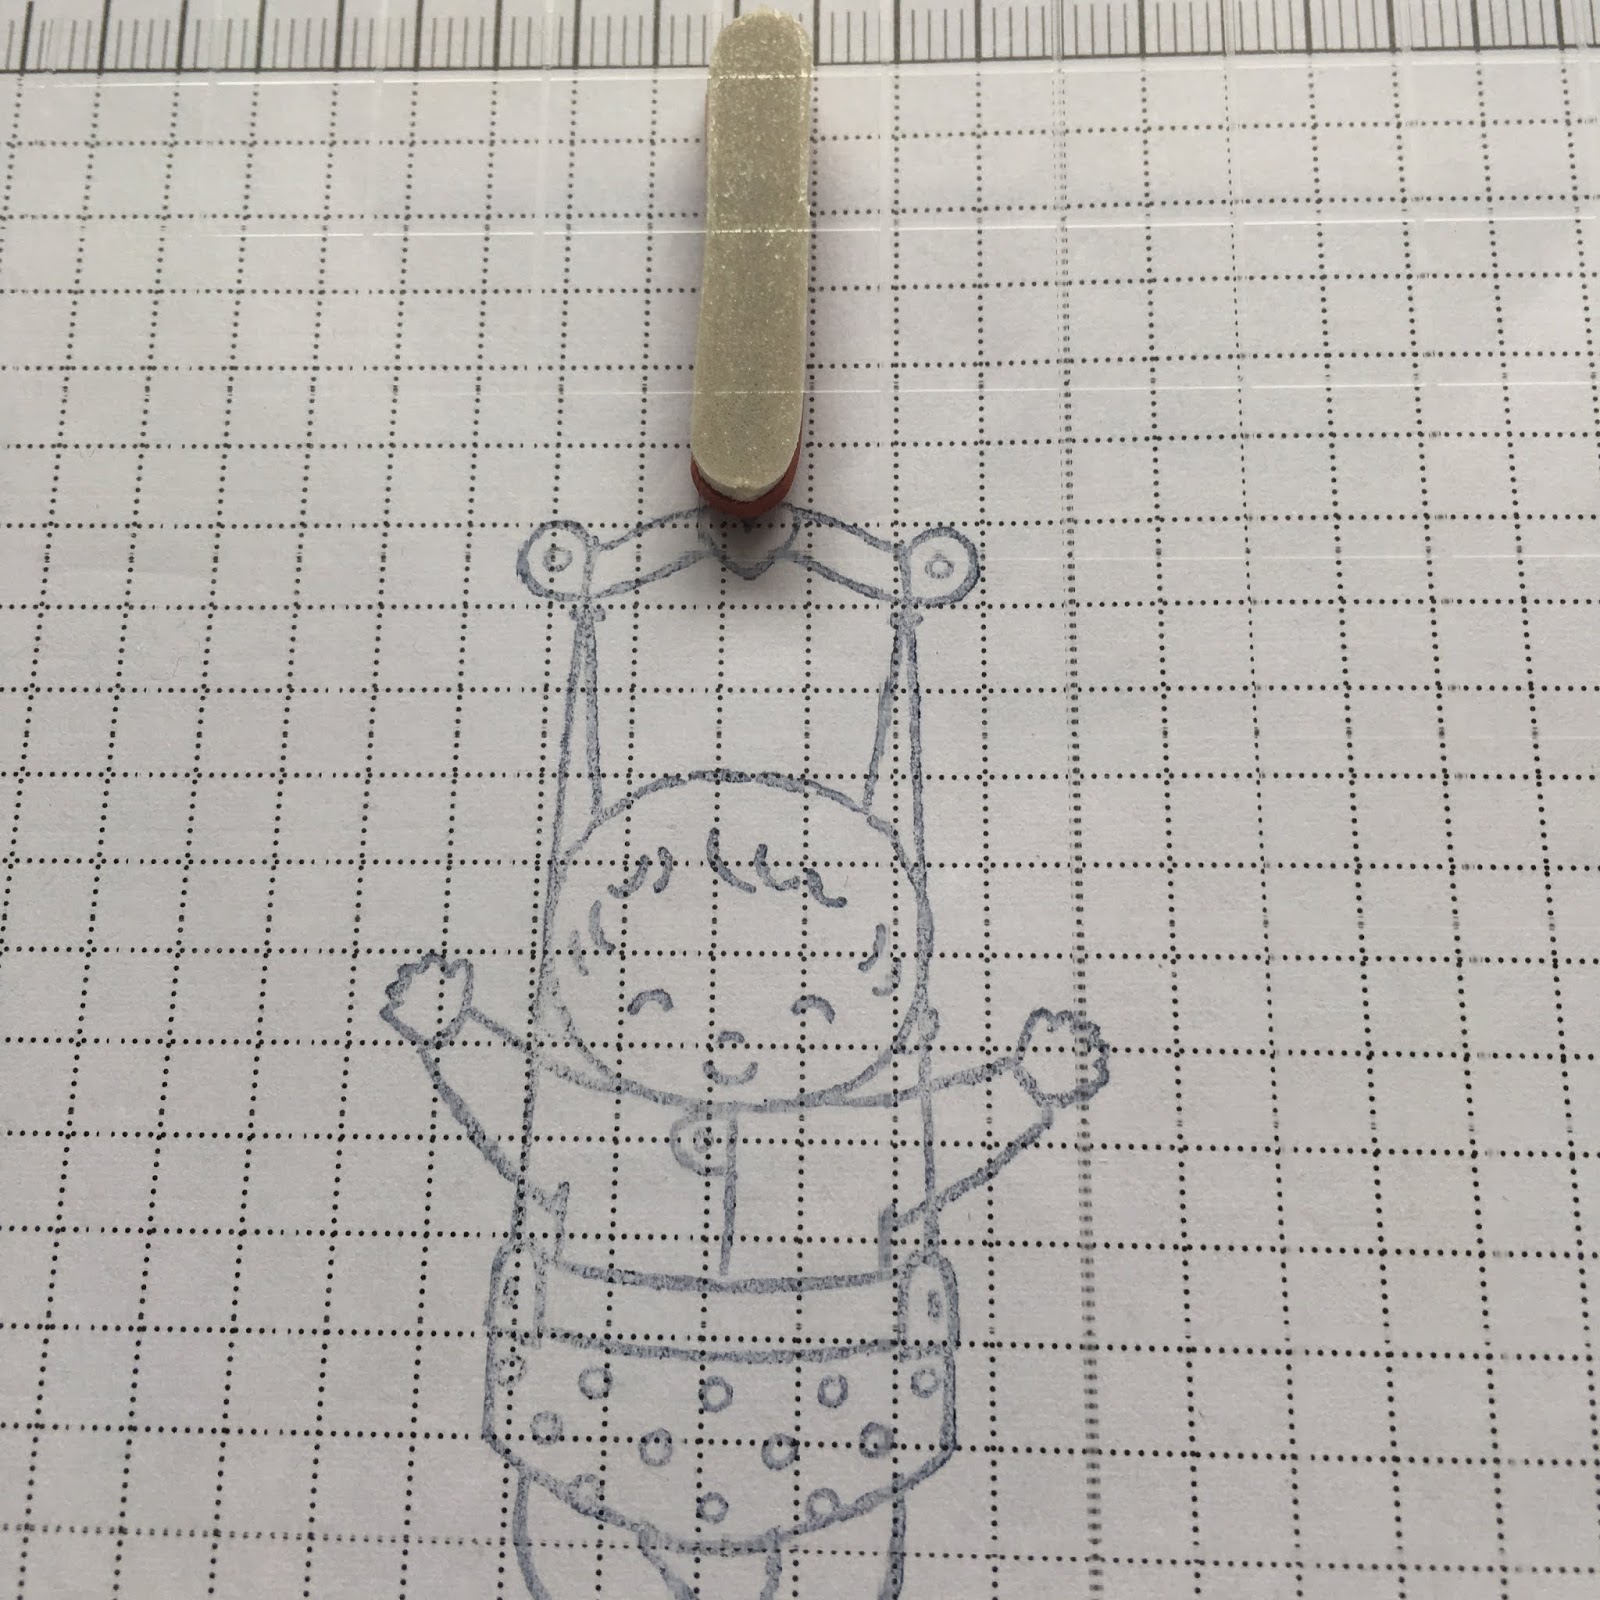
Finally the image was stamped using a similar method to the sentiment on the last card. I wanted to make sure the cord of the bouncer was lined up perfectly so stamped it on my grid paper several times until I was happy it was perfectly placed.


The image was coloured using Stamping' Up! blends and then layered onto night of navy and balmy blue card before being added to the card front.
The Stamparatus is such a useful tool, some of these techniques just wouldn't be possible without it. Perfect placement means a lot less wasted card and for some who perhaps struggle with getting a crisp image it really does make all the difference.
Shop with me....
During Sale-a-bration (3rd Jan - 31st Mar) purchase your Stamparatus selecting me as your demonstrator and...
in addition to your SALE-A-BRATION rewards
.....I will send you a free pack (50 sheets) of Stamparatus Grid Paper worth £6.00.

in addition to your SALE-A-BRATION rewards
.....I will send you a free pack (50 sheets) of Stamparatus Grid Paper worth £6.00.

In order to qualify
you must enter the current host code when you place your order
SRJB9W2T (February '19)
you need to make sure you DON’T tick the ‘no contact’ box
(otherwise I have no way of getting your grid paper to you)
(otherwise I have no way of getting your grid paper to you)
I hope you found this tutorial useful, free feel to ask me any questions about the wonderful Stampartus, thanks for reading,
Katie x


No comments:
Post a Comment